How to Grow Tomatoes From Seed in 6 Easy Steps
Have you ever dreamed of picking ripe, juicy tomatoes straight from your garden, knowing you nurtured them from just a tiny seed? Growing tomatoes from seed is one of the most rewarding experiences for any gardener, whether you’re a seasoned pro or just starting. Imagine the satisfaction of seeing your tomato plants flourish, all because of the care and attention you provided. If you’re ready to get your hands dirty and watch your garden grow, you’ve come to the right place!
In this comprehensive guide, we’ll walk you through how to grow tomatoes from seed in just six easy steps. We’ll cover everything from selecting the right seeds to caring for your seedlings and ensuring a bountiful harvest. Let’s get started on your journey to growing delicious, homegrown tomatoes!

Step 1: Choose the Right Tomato Seeds
Your tomato-growing journey begins with selecting the right seeds. With hundreds of tomato varieties available, the choice can feel overwhelming. But don’t worry—we’ve got you covered.
1. Heirloom vs. Hybrid
- Heirloom Tomatoes: These varieties have been passed down through generations, often prized for their unique flavors, colors, and shapes. Heirlooms are open-pollinated, meaning you can save seeds from your plants to grow next year. However, they can be more susceptible to diseases.
- Hybrid Tomatoes: These are bred for specific characteristics, such as disease resistance, uniformity, and higher yields. While you can’t save seeds from hybrids (they won’t grow true to type), they’re a great choice if you’re looking for reliability and vigor.
2. Determinate vs. Indeterminate
- Determinate Varieties: These are bush-type tomatoes that grow to a certain size and then stop, producing fruit all at once. They’re great for container gardening or if you want a concentrated harvest for canning.
- Indeterminate Varieties: These plants continue to grow and produce fruit throughout the season, making them ideal for those who want a steady supply of tomatoes. They do require staking or caging due to their size.

3. Flavor and Usage
Consider what you want to do with your tomatoes. Are you looking for a sweet tomato for salads, a meaty variety for sauces, or a juicy one for fresh eating? Some popular choices include:
- ‘Roma’ for sauces and pastes
- ‘Brandywine’ for fresh eating with its rich, classic flavor
- ‘Sungold’ for a sweet, cherry tomato perfect for snacking
Once you’ve chosen your seeds, it’s time to move on to the next step!
Step 2: Start Your Seeds Indoors
Starting your tomato seeds indoors gives them a head start on the growing season. This is especially important if you live in a region with a short growing season.
1. Timing is Key
Tomato seeds should be started indoors about 6-8 weeks before the last expected frost date in your area. This gives the seedlings enough time to develop strong roots and healthy foliage before being transplanted outside.
2. Gather Your Supplies
You’ll need:
- Seed trays or small pots
- Seed-starting mix (a lightweight, sterile medium)
- A spray bottle for watering
- Clear plastic cover or plastic wrap
- Grow lights or a sunny windowsill

3. Planting the Seeds
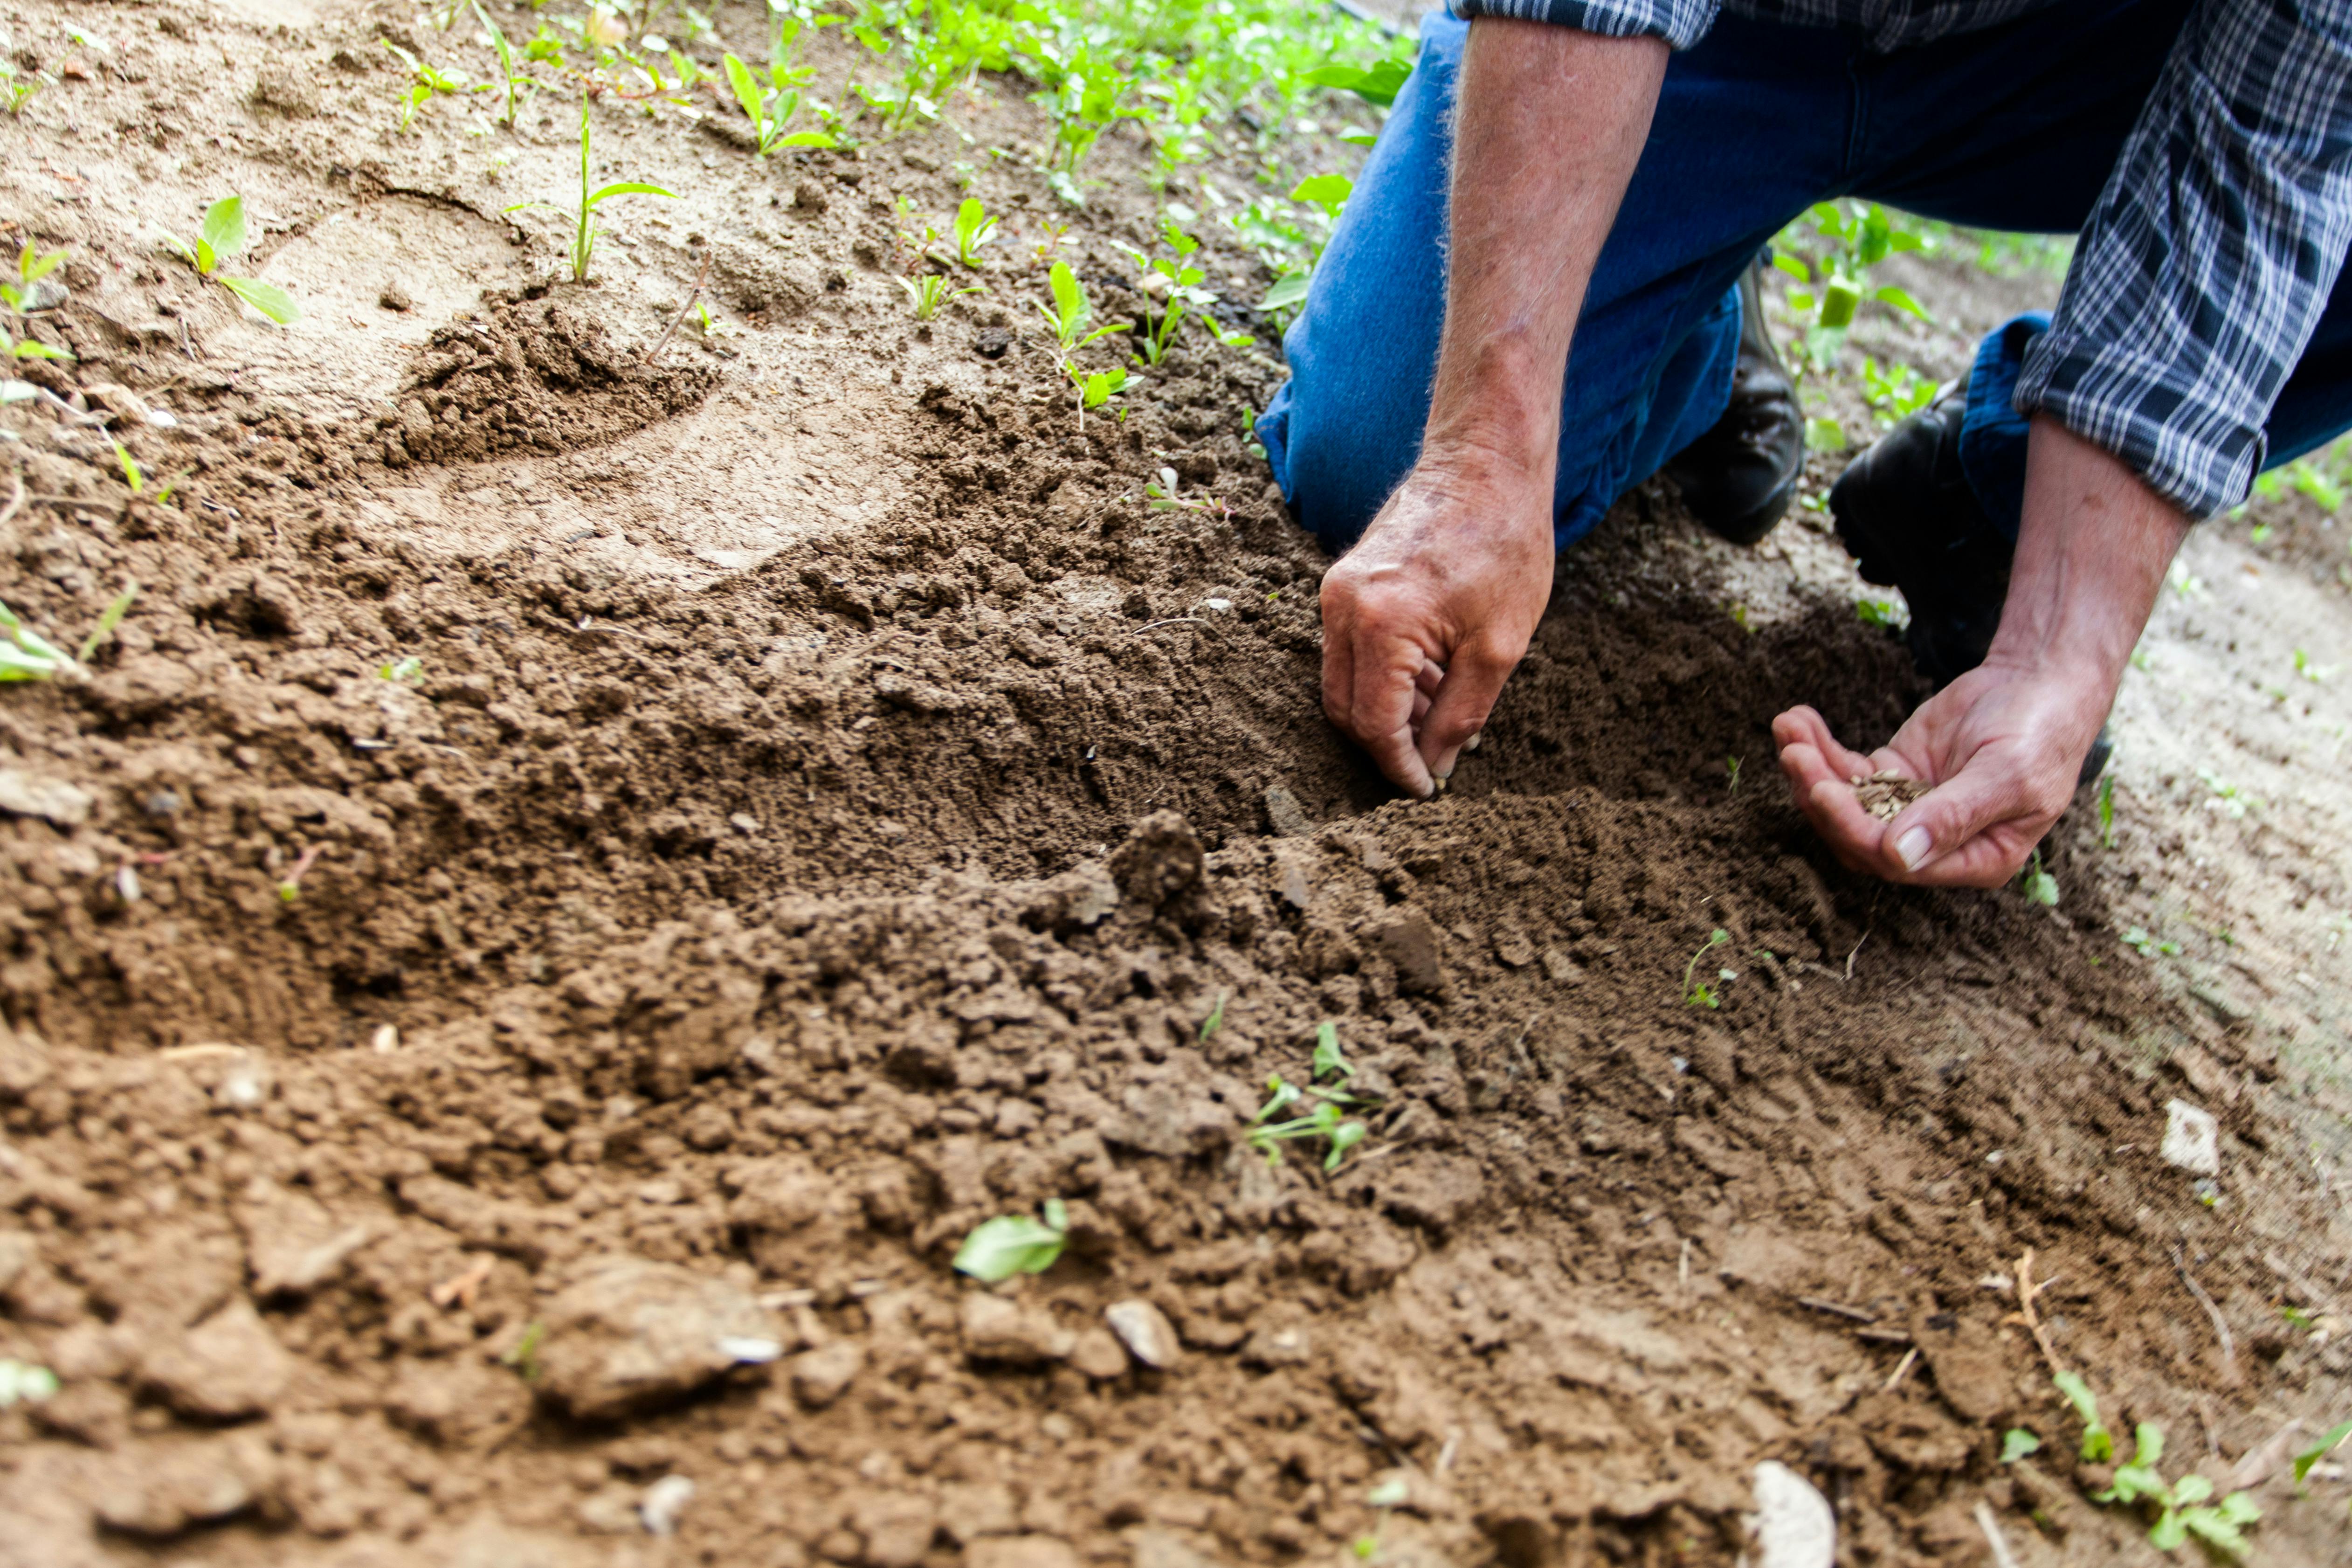
Fill your seed trays or pots with the seed-starting mix, leaving about 1/4 inch from the top. Moisten the mix with water until it’s damp but not soggy. Plant your seeds about 1/4 inch deep, covering them lightly with the mix. Place the trays in a warm location—ideally, where the temperature is between 70-80°F (21-27°C).
4. Provide the Right Environment
Tomato seeds need warmth and moisture to germinate. Cover the trays with a clear plastic cover or plastic wrap to create a mini-greenhouse effect. Check the moisture level daily, using a spray bottle to keep the soil moist if necessary. Seeds should germinate in 5-10 days.
Step 3: Care for Your Seedlings
Once your tomato seeds have germinated, it’s time to focus on nurturing the seedlings. This stage is crucial for developing strong, healthy plants.
1. Lighting
After germination, your seedlings will need plenty of light. If using a sunny windowsill, make sure the seedlings receive 12-16 hours of light each day. Grow lights are a great alternative, as they can provide consistent light without relying on the weather. Position the lights about 2-3 inches above the seedlings, adjusting as they grow.

2. Watering
Keep the soil consistently moist, but avoid overwatering, which can lead to damping-off, a fungal disease that kills seedlings. Water from the bottom by placing the trays in a shallow dish of water, allowing the seedlings to soak up moisture through the drainage holes. This encourages deep root growth.
3. Thinning
If you’ve planted multiple seeds in one cell or pot, thin out the seedlings once they have their first set of true leaves. Choose the strongest seedling and carefully snip the others at soil level with scissors. This prevents overcrowding and ensures that the remaining seedling has enough space and nutrients to grow.
4. Feeding
Once your seedlings have their second set of true leaves, it’s time to start feeding them. Use a diluted, balanced fertilizer (such as a 10-10-10) every two weeks. Organic options like fish emulsion or seaweed extract are also excellent choices.

Step 4: Harden Off Your Seedlings
Before transplanting your tomato seedlings into the garden, they need to be gradually acclimated to outdoor conditions—a process known as hardening off.
1. Timing
Start hardening off your seedlings about 7-10 days before your planned transplant date. Choose a time when the risk of frost has passed and nighttime temperatures are consistently above 50°F (10°C).
2. Gradual Exposure
Begin by placing the seedlings outside in a sheltered, shady spot for a few hours each day. Gradually increase their exposure to sunlight and outdoor conditions over the course of a week. By the end of the hardening-off period, the seedlings should be able to withstand full sun and the elements.
3. Monitor and Adjust
Keep an eye on the weather during the hardening-off process. If the temperature drops or there’s a risk of frost, bring the seedlings indoors. Continue to water the seedlings regularly, but avoid overwatering, as outdoor conditions can cause the soil to dry out more quickly.

Step 5: Transplant Your Tomato Seedlings
Once your seedlings are hardened off, it’s time to transplant them into the garden or larger containers.
1. Prepare the Soil
Choose a sunny spot in your garden that receives at least 6-8 hours of direct sunlight per day. Tomatoes thrive in well-drained, fertile soil with a pH between 6.0 and 6.8. Amend the soil with compost or well-rotted manure to improve fertility and drainage.
2. Digging the Holes
Dig holes that are deep enough to bury the seedlings up to their first set of true leaves. This encourages the development of a strong root system. If your seedlings are leggy, you can even bury part of the stem horizontally to promote additional root growth.
3. Transplanting
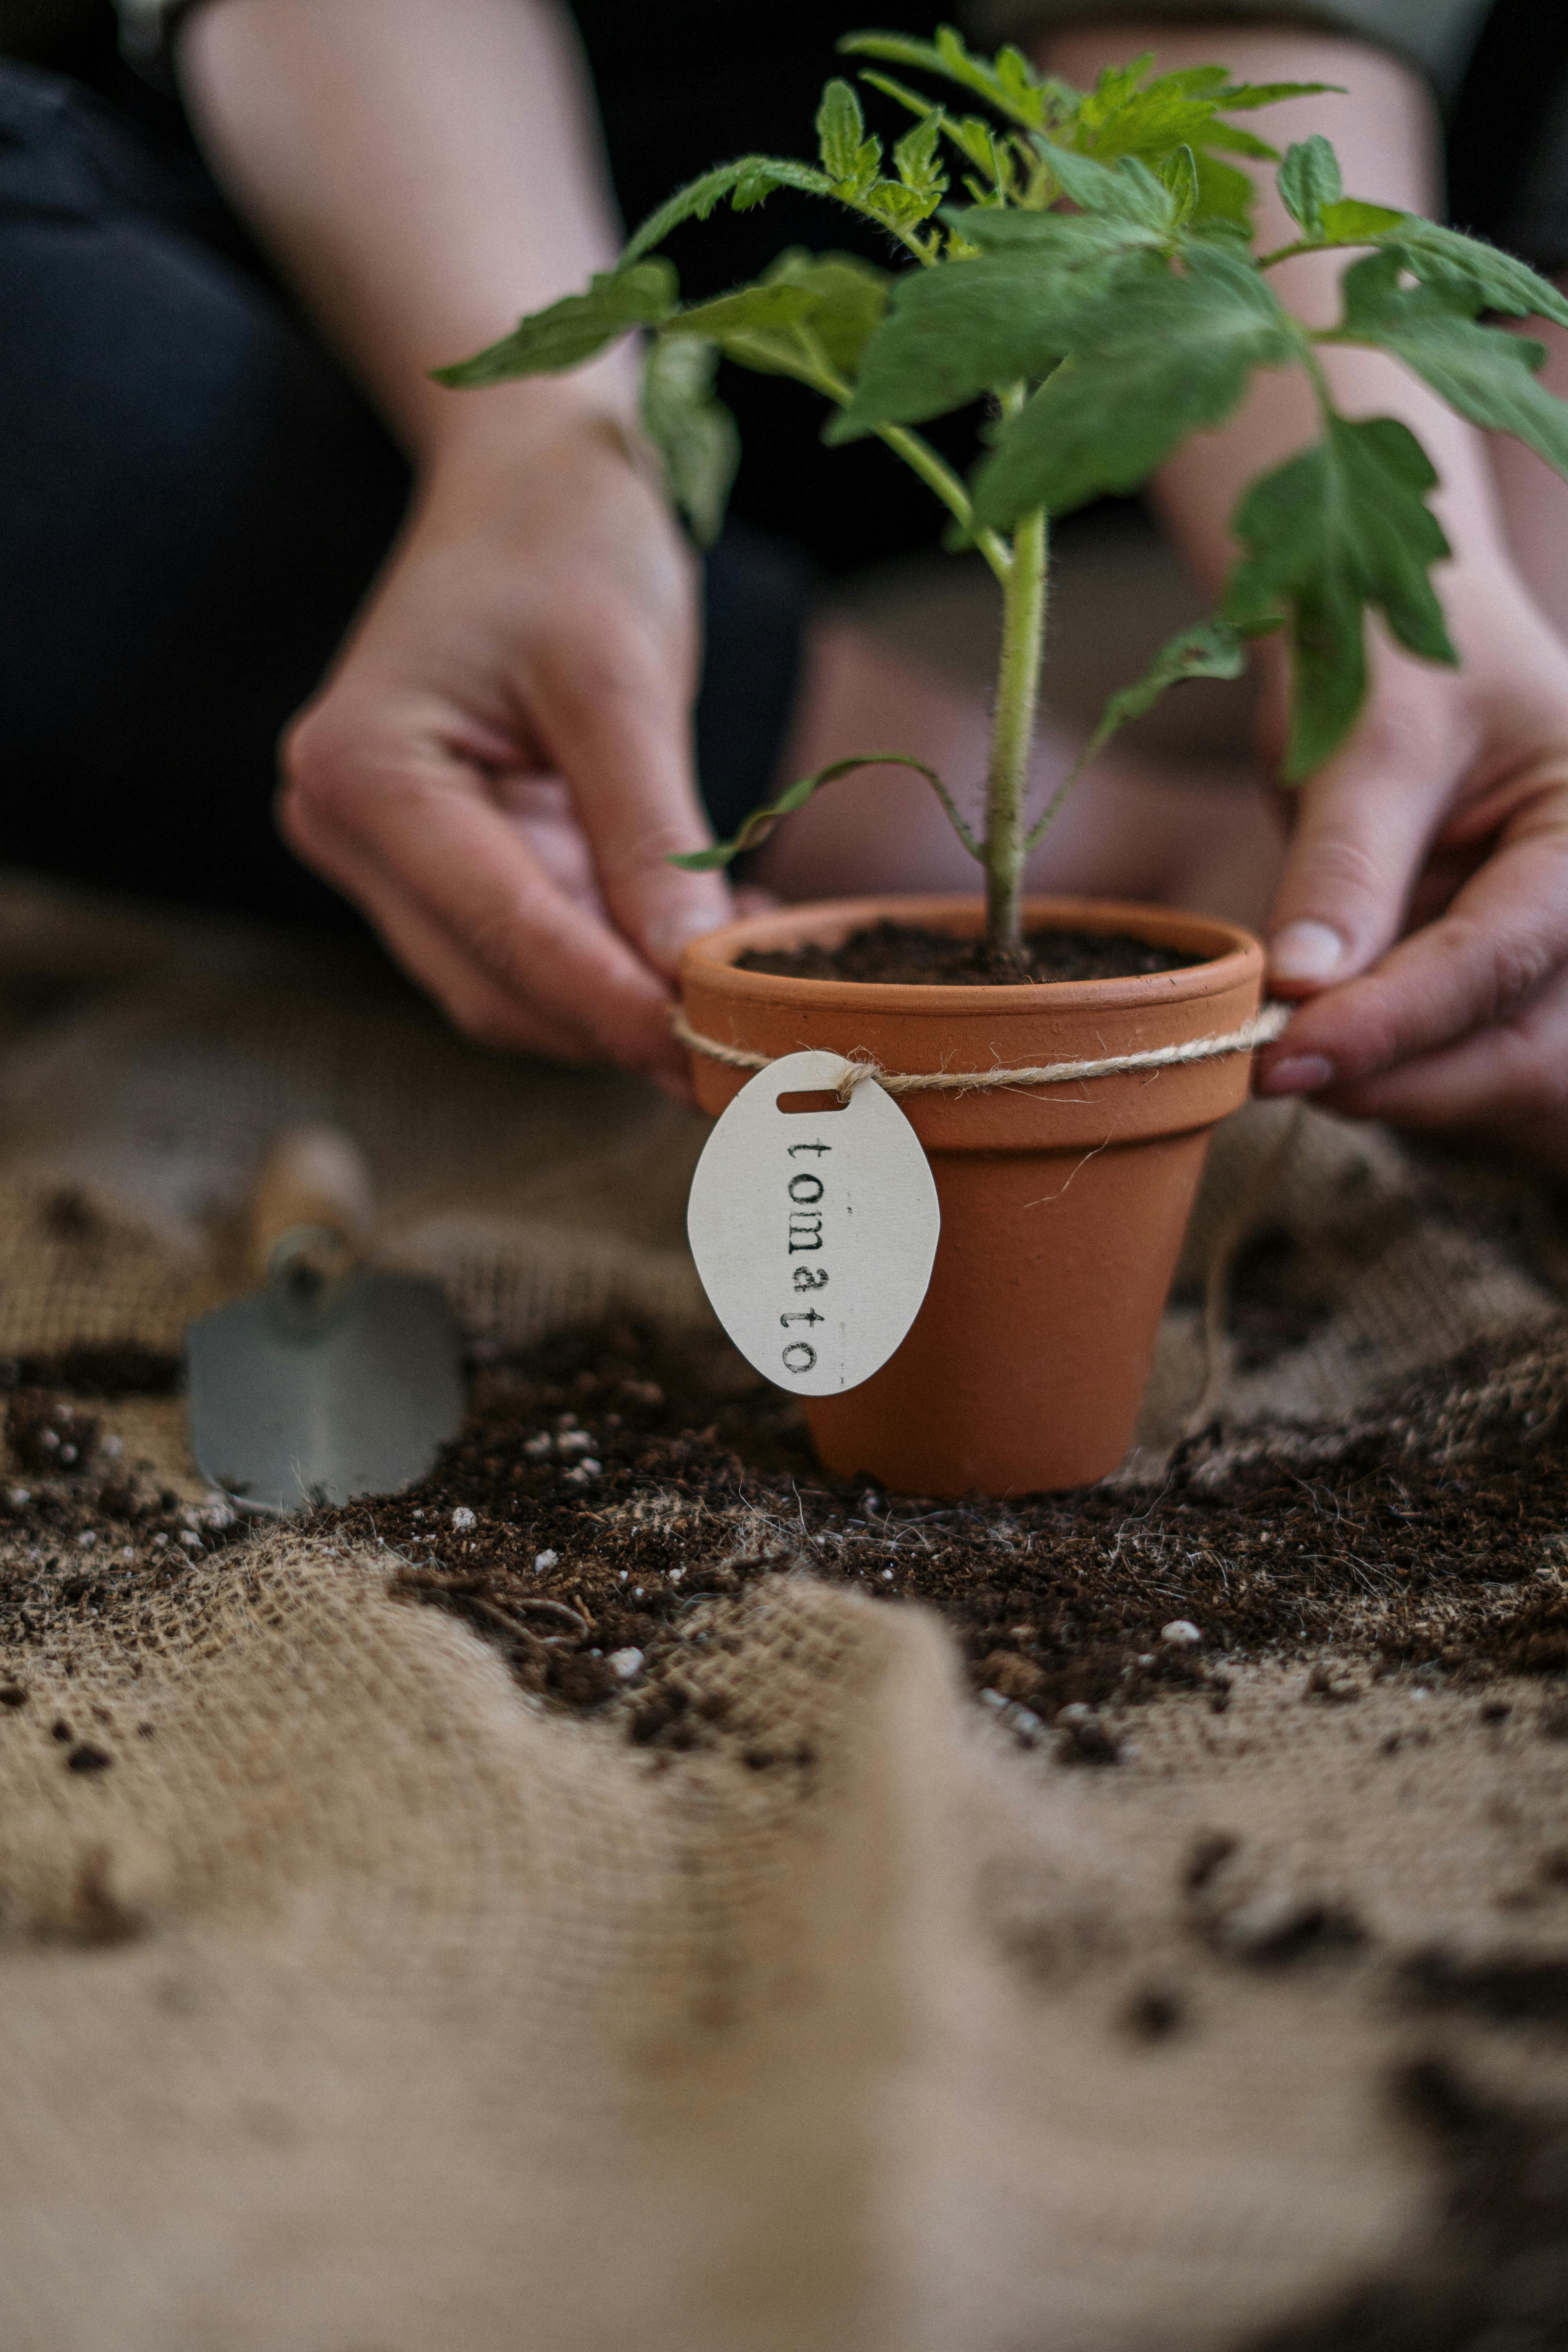
Gently remove the seedlings from their pots, being careful not to disturb the roots. Place each seedling in a prepared hole, firming the soil around the base. Water the plants thoroughly to help them settle in and reduce transplant shock.
4. Spacing
Space your tomato plants according to their growth habit. Determinate varieties should be spaced about 18-24 inches apart, while indeterminate varieties need more space—about 24-36 inches apart—to accommodate their larger size and sprawling habit.

5. Mulching
Apply a layer of mulch around the base of your tomato plants to conserve moisture, suppress weeds, and regulate soil temperature. Organic mulches like straw, grass clippings, or shredded leaves work well. Just be sure to keep the mulch a few inches away from the stem to prevent rot.
Step 6: Care for Your Growing Tomato Plants
Your tomato seedlings are now in the ground and ready to grow! The care you provide from here on out will determine the health of your plants and the quality of your harvest.
1. Watering
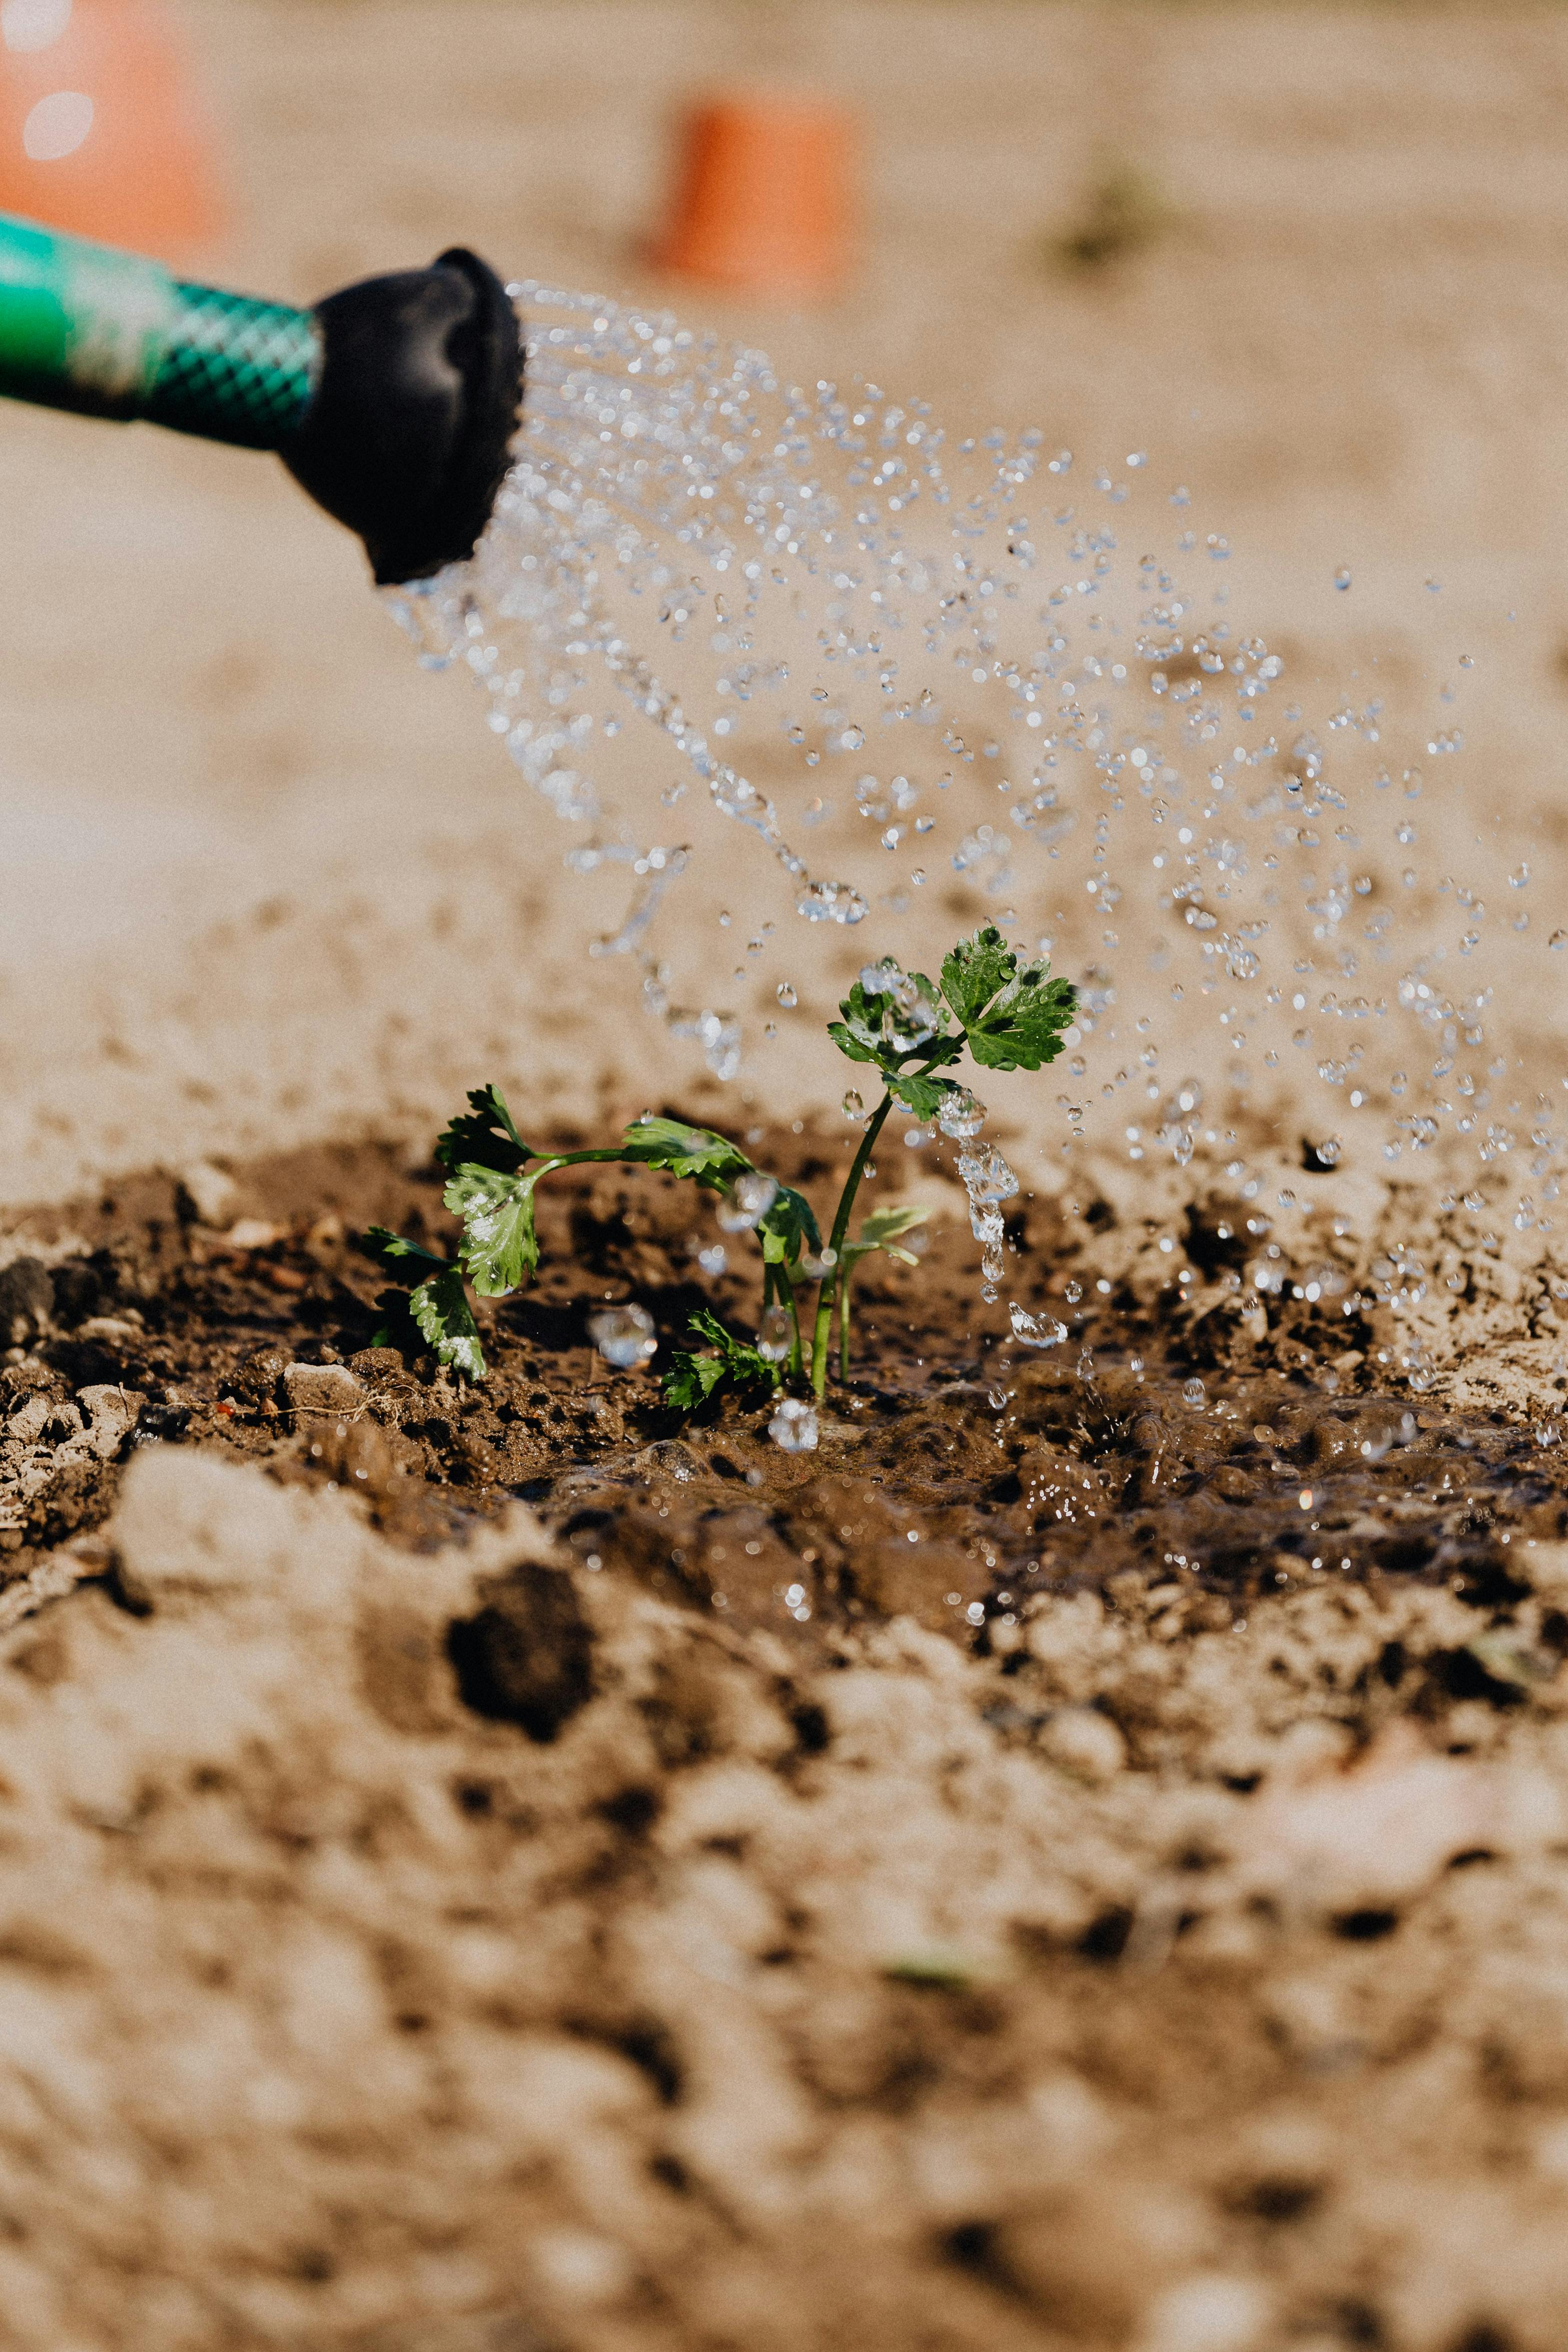
Tomatoes need consistent moisture, especially during fruit development. Water deeply and regularly, aiming for about 1-1.5 inches of water per week. Water at the base of the plants to avoid wetting the foliage, which can lead to fungal diseases. A drip irrigation system or soaker hose is ideal for delivering water directly to the roots.
2. Feeding
Continue to feed your tomato plants throughout the growing season. Once the plants start setting fruit, switch to a fertilizer higher in phosphorus and potassium to support fruit development. Side-dress with compost or apply a balanced organic fertilizer every 4-6 weeks.
3. Pruning
For indeterminate tomato varieties, regular pruning can help promote healthy growth and improve fruit production. Remove the suckers that grow in the crotch between the main stem and branches to direct the plant’s energy into producing larger fruit. Be careful not to over-prune, as this can reduce the plant’s ability to photosynthesize and lead to sunscald.
4. Supporting the Plants
Tomato plants, especially indeterminate varieties, need support to keep the fruit off the ground and prevent the branches from breaking under the weight of the fruit. Staking, caging, or using a trellis are all effective methods for supporting your plants.

5. Pest and Disease Management
Keep an eye out for common tomato pests such as aphids, hornworms, and whiteflies. Hand-pick pests or use organic insecticides if necessary. To prevent diseases, avoid overhead watering, provide good air circulation, and remove any diseased leaves or fruit promptly.
6. Harvesting
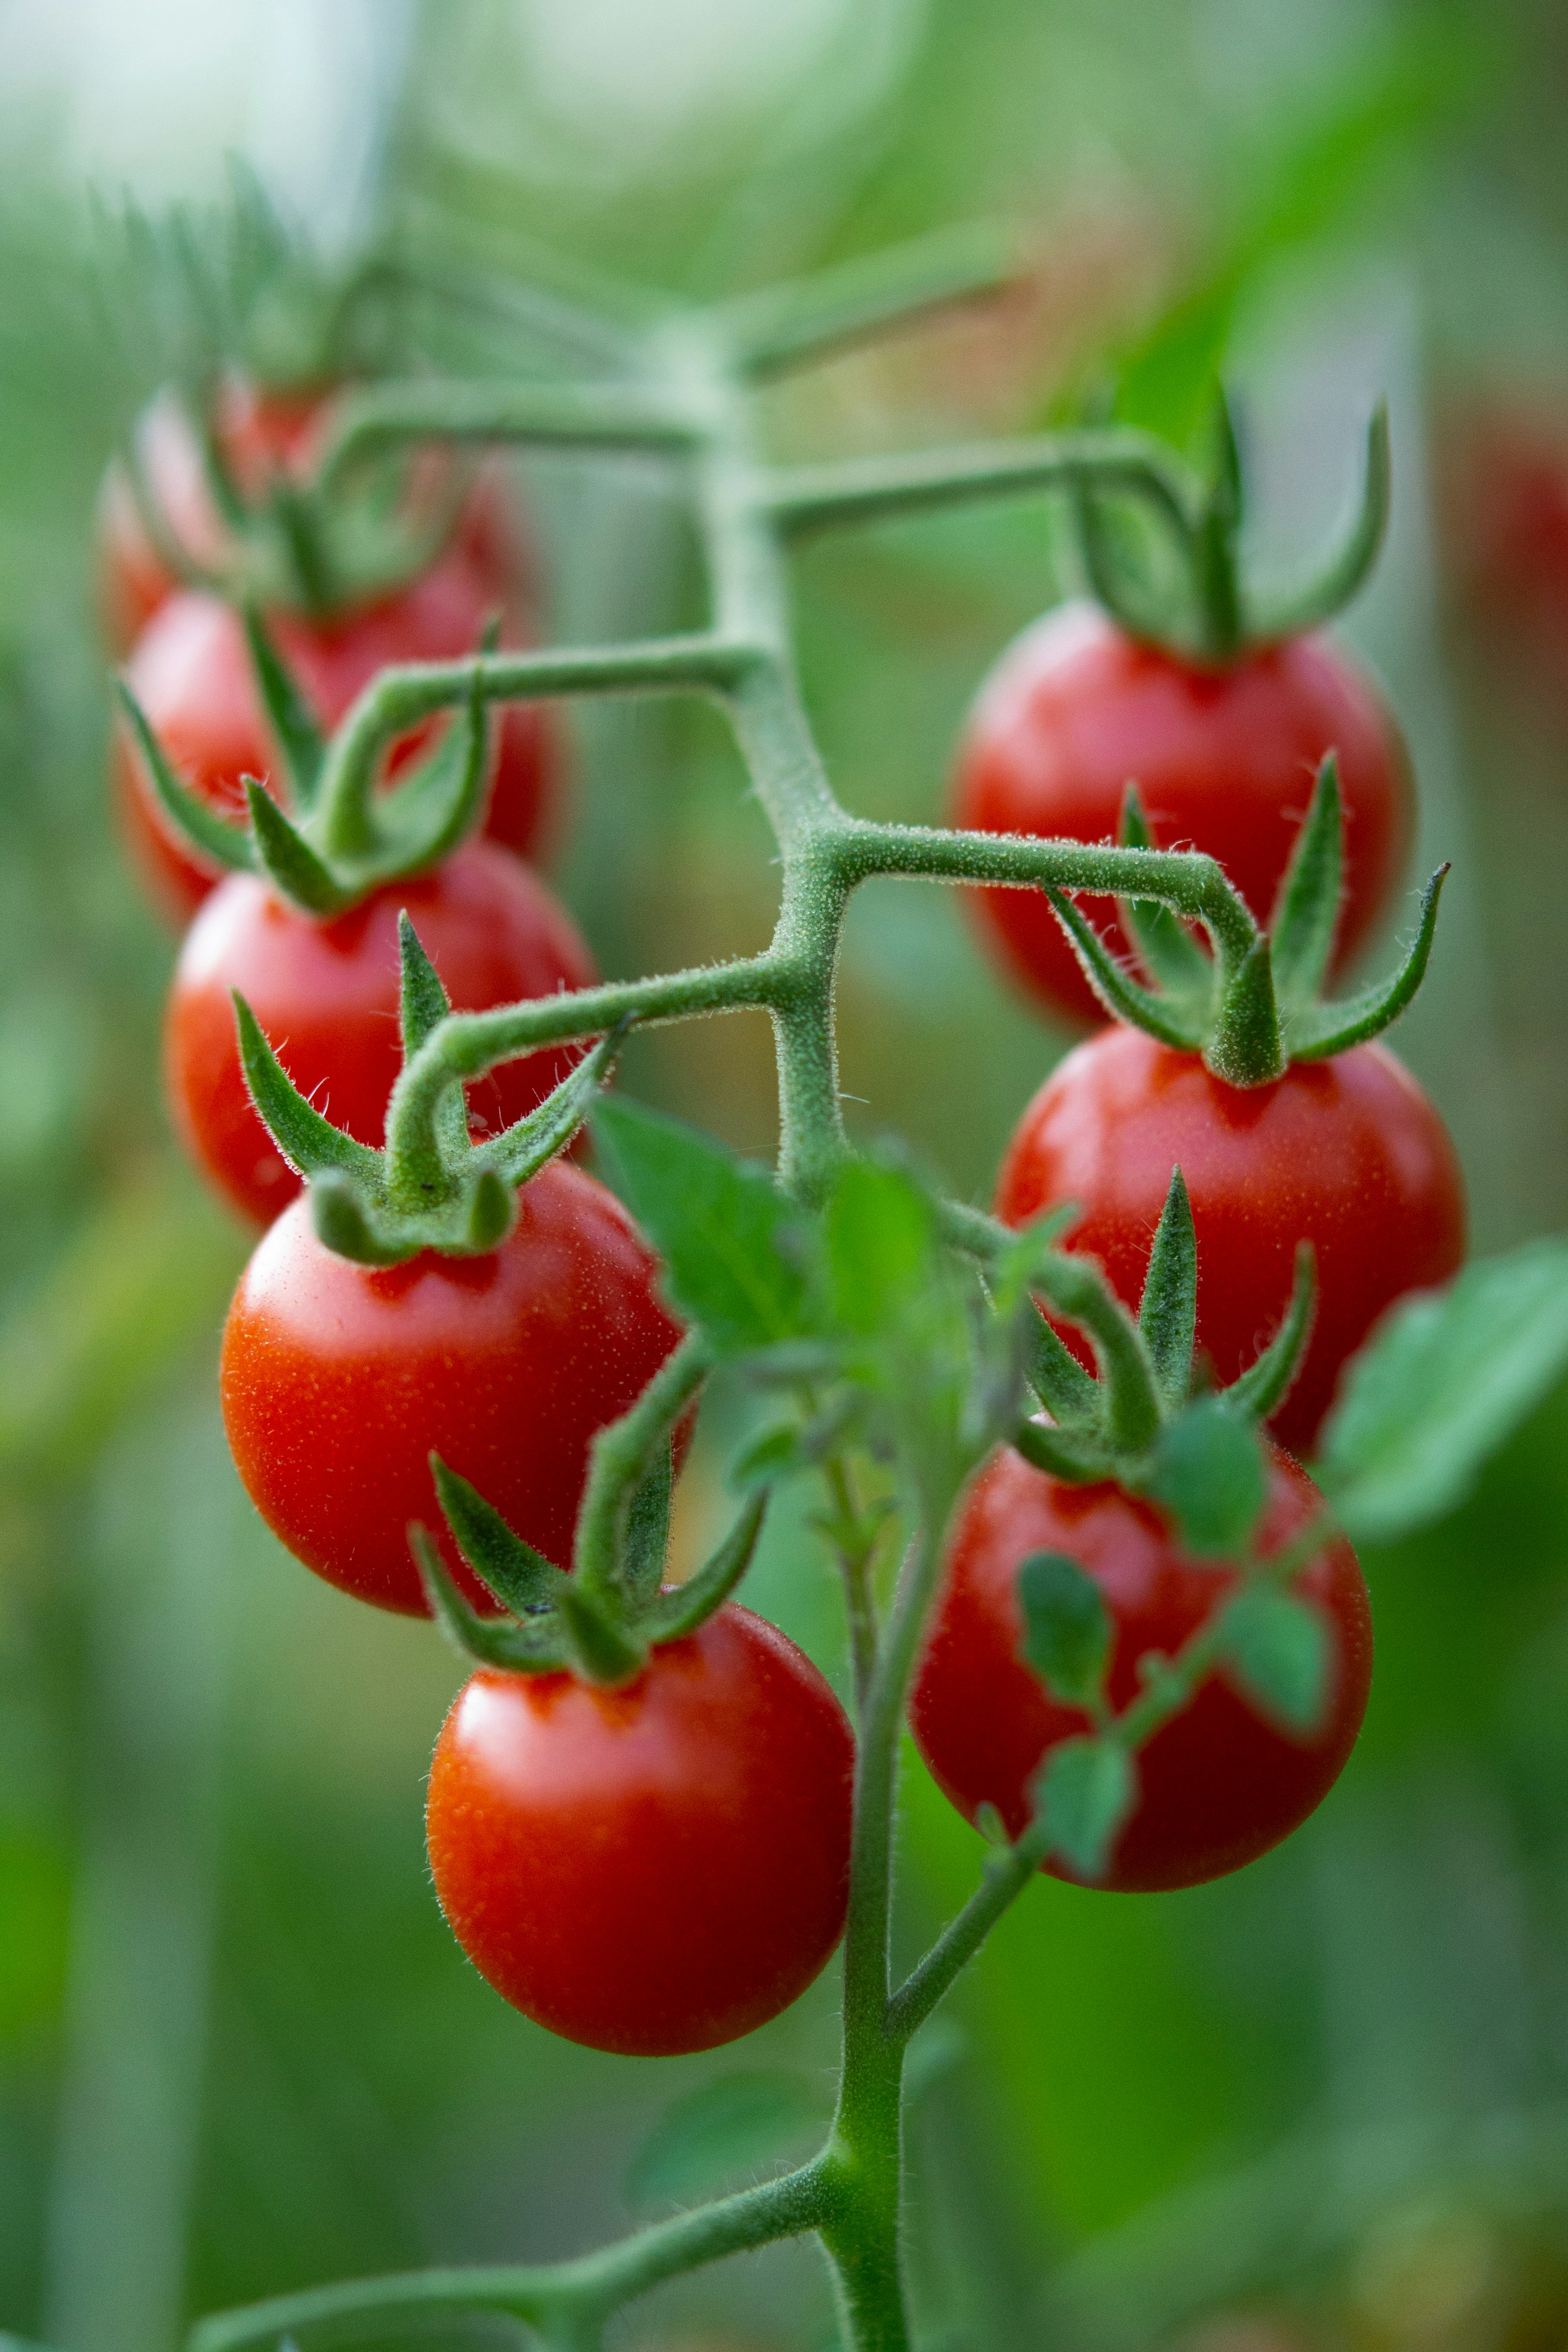
Tomatoes are ready to harvest when they have reached their full color and are slightly soft to the touch. For the best flavor, pick tomatoes when they’re fully ripe and enjoy them fresh from the garden. If frost threatens at the end of the season, you can pick green tomatoes and allow them to ripen indoors.
Growing tomatoes from seed is a gratifying experience that connects you with the entire lifecycle of the plant, from seed to harvest. By following these six easy steps, you can grow healthy, productive tomato plants that will reward you with delicious, homegrown tomatoes all season long. Whether you’re a beginner or an experienced gardener, the joy of growing your own tomatoes is unmatched. So go ahead, plant those seeds, and get ready for a bountiful harvest!


